I have a confession to make. I am horrible at visualizing things. In one sense, I do this all the time with photography. However, when it comes to physical things, like decor in a room, or things on my wall, and especially when it involves picturing sizes… my brain doesn’t work that way. When it comes to pictures on my walls, I can’t exactly do it by trial and error. And I know this is something others struggle with- my clients mention it to me all the time too. They know they want things on the wall, but they struggle to figure out exactly what and how to lay it out.
So, I am so excited about my new software! It makes it ridiculously easy to preview your images on your own actual wall, to scale. It can be hard to picture how different sizes would look, or what may match your decor, or how to position multiple images together cohesively- now it’s foolproof.
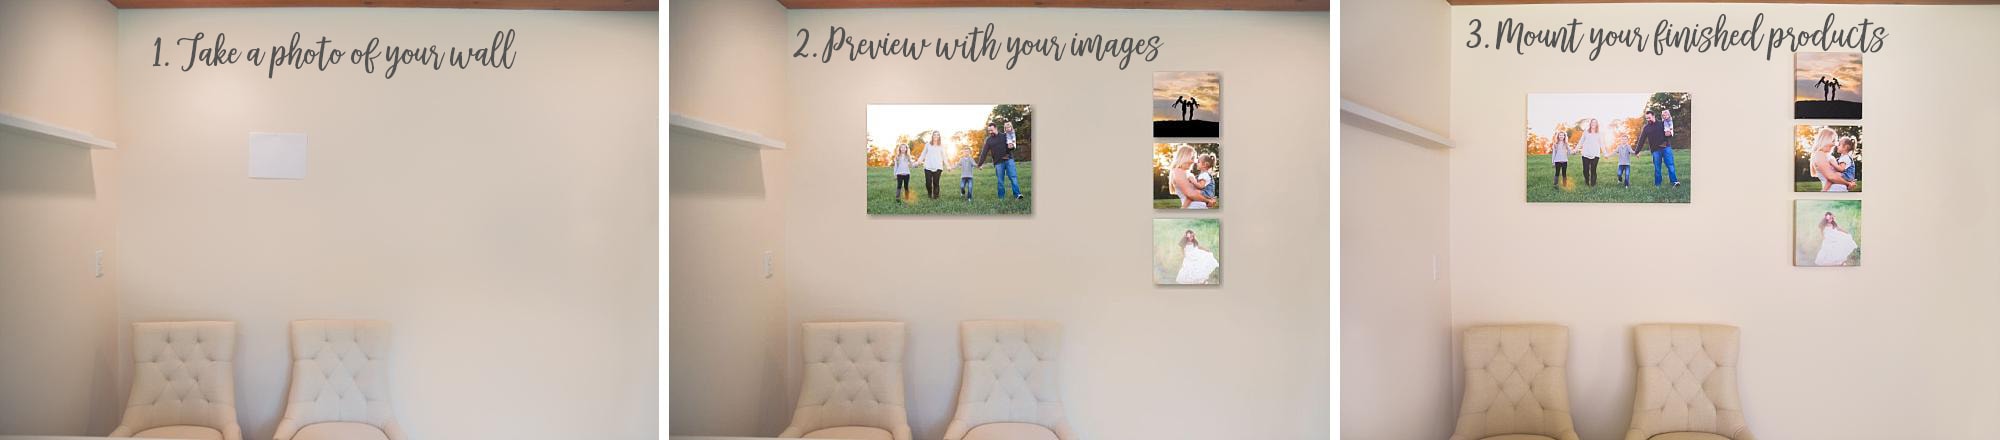
We can preview images at your ordering session and see how they’ll look on your walls! We can try out different images, sizes, and combinations, which will help make sure you purchase exactly what will work for you. Here is how it works:
1. Pick a wall you want to put new images on. Remove any images on the wall that you don’t plan to keep there with your new images.
2. Take an 8.5×11 piece of paper to the wall
3. Take a picture. Using your phone is fine- try to use natural light during a brighter part of the day. Make sure you are far enough away to see the entire wall.

4. Send the photo to me before your ordering session
5. At your ordering session we’ll use the picture(s) to mock up how you want the wall to look with images from your session
(sample mockup image)
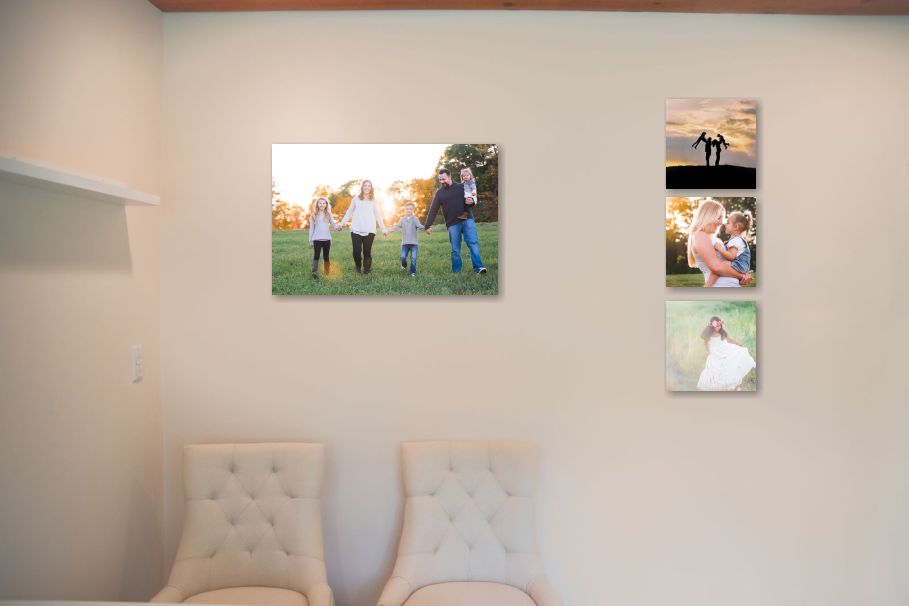
6. When you images are delivered, use the mockup as a guide to mount your images on the wall (ask my about honeycomb photo mounts to make this even easier!)

(actual image of the photos on my wall)
